Car Accident Scene Photos: A Complete Evidence Guide
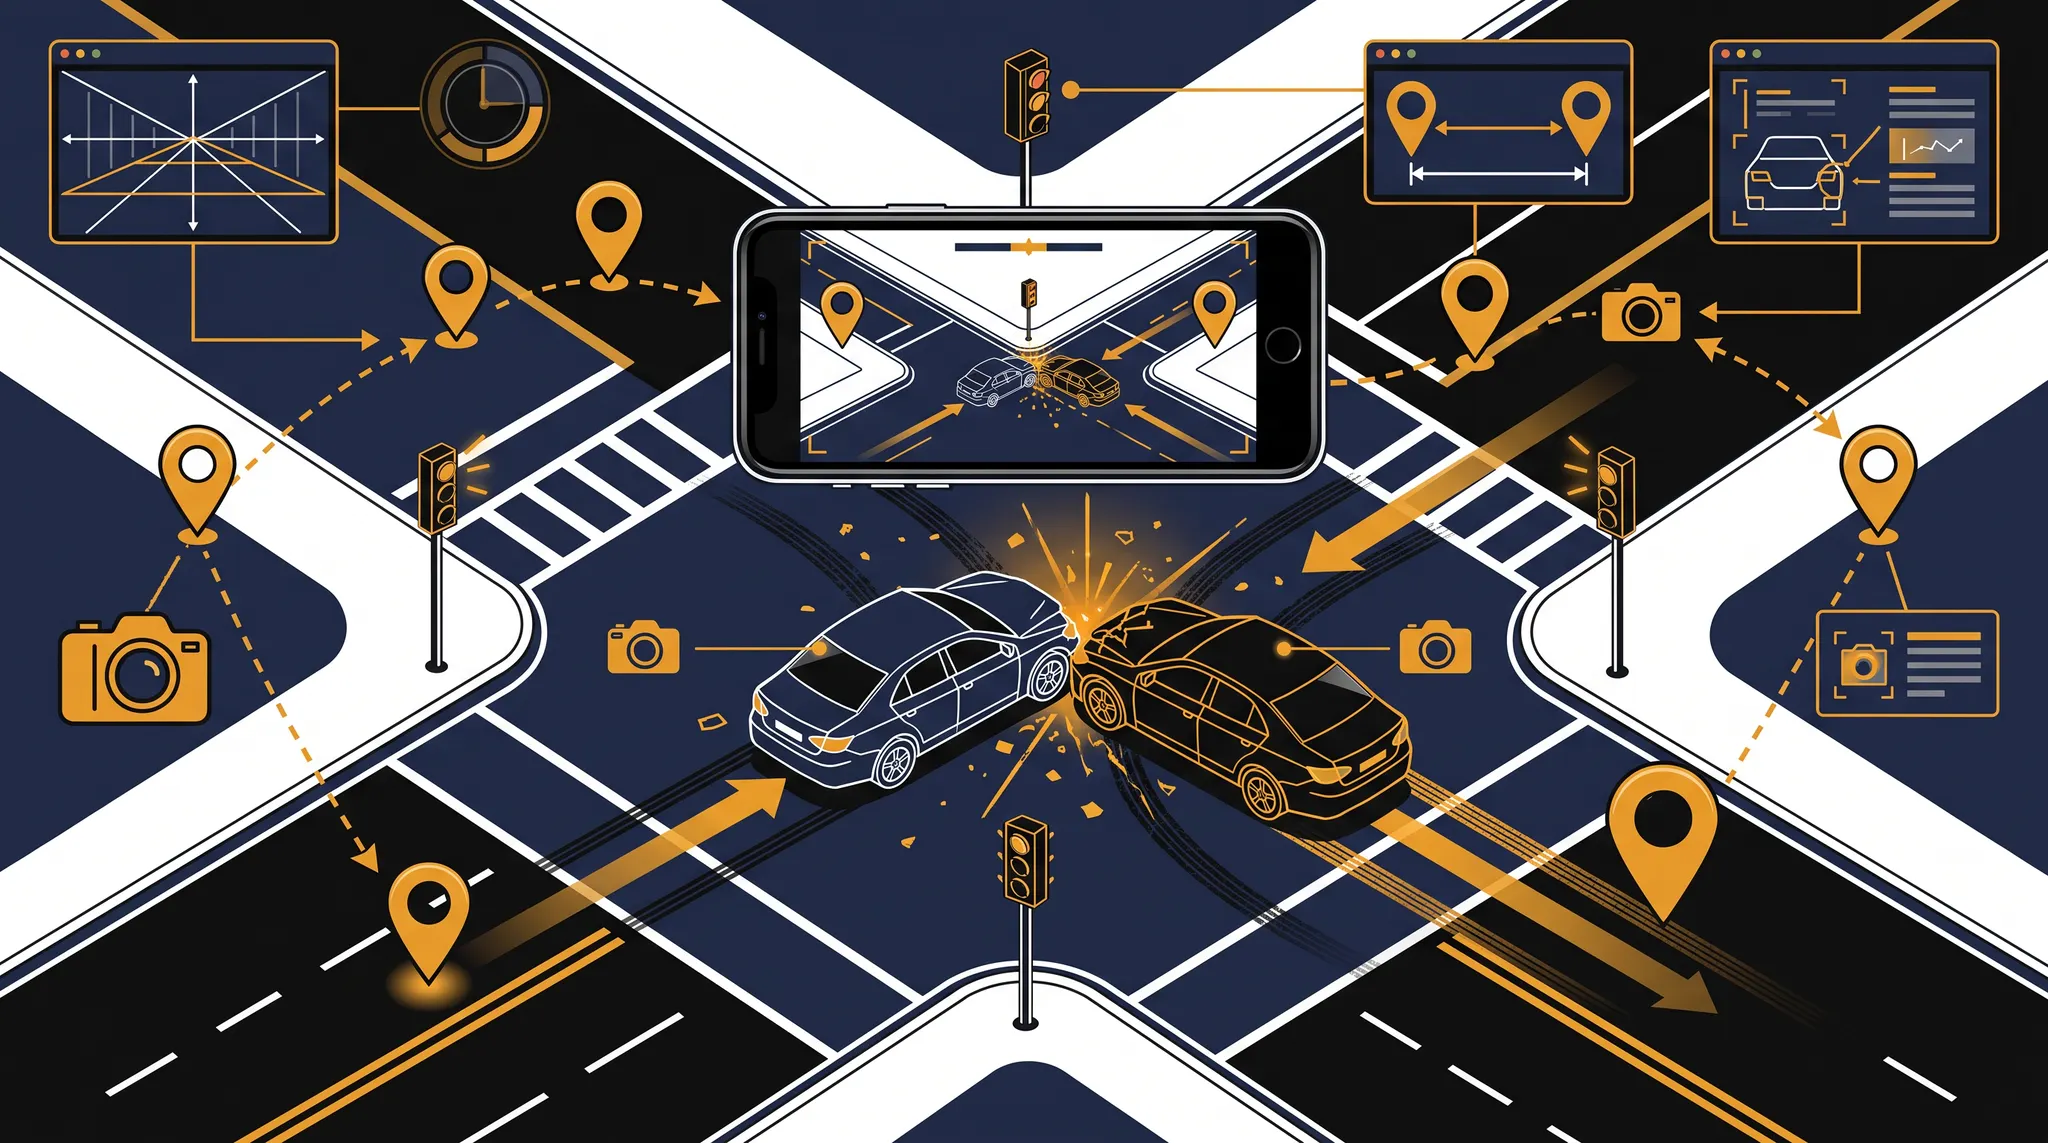
Car accident scene photos should explain where the collision happened, how the vehicles approached and came to rest, what physical marks remained, and which conditions may have affected visibility or movement. After protecting people and following responder instructions, photograph from wide context to close detail. Keep the original files unchanged, back them up, and label later photographs honestly when vehicles or scene conditions have changed.
The goal is not to take the largest number of pictures. It is to create a sequence another person can understand and verify without relying on memory alone.
Put safety before car accident scene photos
Do not stand in a traffic lane, cross an active roadway, enter a restricted area, delay medical care, interfere with responders, or approach an unsafe person to get a photograph. Turn on hazard lights or move only when it is safe and consistent with responder instructions.
If you cannot photograph the scene, record what prevented it. A contemporaneous note such as “ambulance transported me before the vehicles were moved” helps explain why the file begins later. Passengers, witnesses, police, tow operators, repair facilities, nearby businesses, residences, fleet vehicles, and public cameras may hold other images.
The broader car accident checklist covers safety, identity, insurance, medical, and follow-up records. This guide focuses only on building a reliable photographic record.
Start with a wide-to-close photo sequence
A useful sequence preserves relationships before details. Work from the outside of the scene inward.
| View | What to include | Question it may help answer |
|---|---|---|
| Orientation | Street names, intersection, landmarks, roadway direction, weather, and lighting | Where and under what conditions did the crash occur? |
| Wide scene | All involved vehicles, lanes, medians, shoulders, signs, signals, and barriers | How were the vehicles and roadway features positioned? |
| Approach path | Each driver’s direction of travel, curves, hills, sight lines, parked vehicles, and obstructions | What could each driver potentially see while approaching? |
| Vehicle overview | Front, rear, both sides, roof line, wheels, glass, lights, and passenger compartment when safe | What damage pattern and vehicle condition are visible? |
| Close detail | Contact marks, deformation, paint transfer, broken parts, airbags, belts, dashboard warnings, and fluid | Which specific physical features require closer review? |
| Road evidence | Tire marks, gouges, debris, fluids, potholes, loose material, standing water, and temporary markings | What remained on the roadway after the collision? |
Take overlapping views rather than one isolated close-up. A tight photograph of a dent may show damage but not which panel it is on, how high it sits, or how it relates to the other vehicle.
Photograph every vehicle, not only your own
When it is safe and lawful, photograph all involved vehicles from consistent angles. Include the license plate, overall condition, visible prior damage, cargo, commercial markings, trailer connections, lights, tires, and detached parts. Do not open another person’s vehicle or move evidence.
Photograph your own vehicle again in daylight and before repair, teardown, sale, or salvage. Tow-yard and repair-facility photos can add views that were impossible at the roadside. Ask the facility to preserve its original inspection and estimate images rather than relying only on compressed thumbnails in a portal.
For technical vehicle data that photographs cannot show, the event data recorder guide explains what a supported black-box download may preserve and why the vehicle itself can be time-sensitive evidence.
Capture traffic controls and visibility conditions
Photograph the signal or sign facing each relevant approach, not only the nearest control. Include lane arrows, stop lines, crosswalks, turn restrictions, construction devices, vegetation, parked vehicles, commercial signs, and anything that may block a view.
Lighting and visibility can change quickly. If glare, darkness, rain, dust, or a lighting outage mattered, record the time and direction of the view. A later photograph taken at the same clock time may help document sun position or lighting, but it is a later comparison, not a substitute for the original scene. Weather, traffic, foliage, construction, and signal operation may differ.
Do not photograph while driving. Use a safe, legal observation point or ask a qualified person to document the location later.
Preserve originals, metadata, and a simple photo log
Keep the native files created by the phone or camera. Avoid editing, filtering, drawing on, cropping, renaming, or repeatedly forwarding the only copy. Messaging apps and social platforms may compress images or remove metadata.
Use three sets:
- Original set: unchanged files stored securely.
- Backup set: a second copy in a separate secure location.
- Working set: copies used for annotation, sharing, upload, or presentation.
Create a short log with the filename, photographer, approximate location, direction faced, subject, capture time, and any known clock error. If the device clock was wrong, preserve the original value and document the correction rather than changing the file.
A screenshot of a photo is not the same as the source file. Keep both when a screenshot shows how an image appeared in a message, claim portal, or social post, but preserve the underlying original whenever available.
Separate what the photo shows from what you infer
A photograph may directly show a vehicle position, broken part, lane marking, shadow, signal housing, road mark, or visible damage. It may support an inference about movement or contact, but the inference requires context.
Use neutral descriptions:
- “Front-left bumper has a horizontal scrape” describes an observation.
- “This proves the other driver caused the crash” states a conclusion the image may not establish alone.
- “Image IMG_2041 was taken facing north from the southwest corner” makes the source easier to audit.
Photos should be compared with video, witness viewpoints, police observations, measurements, vehicle data, repair records, and roadway information. The car accident reconstruction guide explains how analysts test a proposed sequence against multiple independent sources.
Find missing photographs before they disappear
When your own file has gaps, identify likely third-party sources promptly:
- police or other responder photographs;
- tow-yard, storage, salvage, and repair-facility images;
- passenger and witness phone files;
- business surveillance, doorbell, parking, transit, traffic, fleet, rideshare, and delivery video;
- insurer inspection, appraisal, and total-loss photographs; and
- roadway or construction records containing dated images.
Retention periods vary, and some systems overwrite automatically. Record the exact location, camera direction, owner or custodian, requested time window, contact attempt, and response. A broad request for “all video” is often less useful than a precise request tied to the correct date, time range, and viewpoint.
Review the photo set as one evidence package
Before sending photographs to an insurer, expert, or attorney, check whether the set answers these questions:
- Can a reviewer orient the scene without having been there?
- Are all vehicles and all sides documented?
- Do wide views connect close details to a known location?
- Are traffic controls, lanes, sight lines, and visibility shown?
- Are original files preserved separately from working copies?
- Are later photographs labeled with their later date and changed conditions?
- Does the log identify who took each important image and where?
- Are private medical, license, insurance, address, and unrelated-person details shared only when necessary?
Do not discard imperfect, blurry, or apparently unhelpful originals. The sequence, timing, or background may matter even when the main subject is unclear.
If your crash photo record is incomplete or the scene may change, start the free 60-second case evaluation while vehicles, video, and physical evidence may still be available.
This article provides general information, not legal advice. Evidence preservation, privacy, access, discovery, admissibility, insurer requirements, deadlines, and the significance of any photograph depend on the source, jurisdiction, current law, and facts. Nevada-specific issues require review by a licensed Nevada attorney.
Frequently Asked Questions
What car accident scene photos should I take first? +
After addressing safety and emergency needs, begin with wide views that show the entire scene, vehicle positions, lanes, traffic controls, and major landmarks. Then photograph approach paths, every side of each vehicle, impact details, road marks, debris, and any condition that may have affected visibility or movement.
Should I photograph a car accident if the vehicles have already moved? +
Yes, if it is safe. Photograph the vehicles where they are, the road and intersection, visible damage, debris, marks, signs, signals, and the paths you believe the vehicles traveled. Write down that the vehicles moved and avoid presenting later photos as the original resting positions.
Can edited or screenshot images be used for an insurance claim? +
They may still provide information, but original files are usually more useful because they can preserve higher resolution, timestamps, and other metadata. Keep the originals unchanged, create a secure backup, and make separate copies for cropping, annotation, email, or upload.
What if I was injured and could not take photos at the scene? +
Medical care and safety come first. Later sources may include passenger or witness files, police photographs, tow-yard images, repair-facility photos, nearby camera footage, daylight vehicle photos, and a prompt return visit by another person when the location is safe and lawful to access.
Injured in a Las Vegas accident?
Find out what your case is worth in under 60 seconds. Free, confidential, no obligation — and no fee unless we win.
Check My Case in 60 Seconds